Introduction
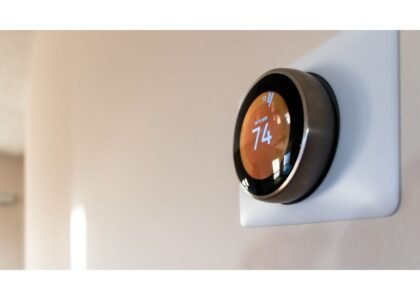
You’ve decided to upgrade to a smart thermostat — great choice. But installing and configuring one can feel tricky if you haven’t done it before. In this blog, we’ll walk you through each step: wiring, mounting, setup, calibration, and testing. You’ll see how it connects back to thermostat replacement basics and how the right install makes all the difference for performance and energy savings.
Why Smart Thermostat Installation Needs Care
- Incorrect wiring may damage HVAC equipment.
- Poor mounting leads to temperature reading errors.
- Misconfiguration prevents you from using full smart features.
- Skipping steps leads to comfort issues like short cycling or stuck modes.
A careful installation ensures you’ll enjoy the benefits outlined in Blog 1, including better energy savings and control.
Prepare Before Installation
Before turning off power, gather these:
- Smart thermostat unit, base, and hardware
- Screwdriver (flat and Phillips)
- Level (to mount straight)
- Wire labels or paper & tape
- Smartphone or computer for initial setup
- Old thermostat manual or photos of wiring
- A clear idea of your HVAC system type (single-stage, heat pump, etc.)
Step 1: Turn Off HVAC Power
For safety and protection, switch off system power at:
- The breaker dedicated to HVAC/furnace
- The switch on the furnace itself
- Ensure no power to the thermostat
Step 2: Remove the Old Thermostat
- Remove the faceplate; gently pull off the control unit.
- Label each wire with its terminal letter (e.g. R, W, Y, G, C).
- Take a photo of wiring before disconnection.
- Unscrew and carefully remove the base.
Step 3: Inspect Wall Wiring & Mounting
- Ensure wires are long enough to reach new base.
- Check for stray wire strands.
- Verify presence of a C-wire (common wire) if your thermostat needs power.
- Use the new base to mark screw holes and mount level.
Step 4: Wire the New Thermostat Base
- Follow the labels and your photo: connect wires to matching terminals.
- Secure wires with screws or push connectors.
- If your thermostat uses jumpers, verify those are correct for your system.
- Mount the base securely to the wall.
Step 5: Restore Power & Initial Setup
- Turn power back on to the HVAC system.
- Mount the thermostat display onto base.
- The device will power up.
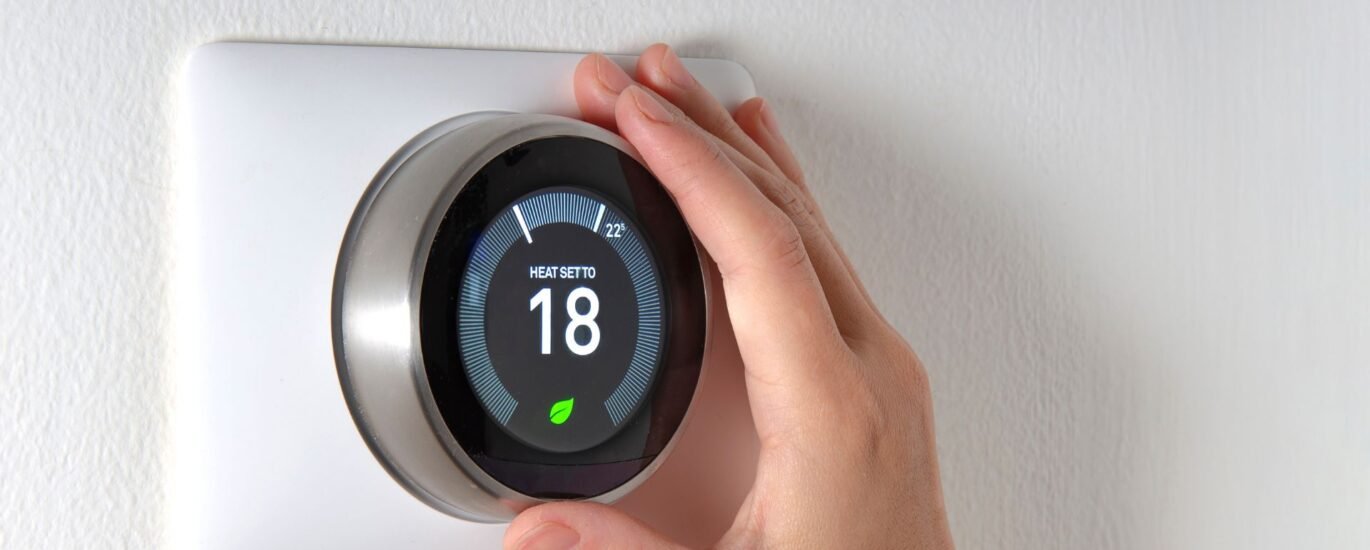
Step 6: Configure Thermostat Settings
- Set system type (heat pump, conventional, etc.)
- Choose number of stages (1, 2, etc.)
- Program your location, time, and schedule preferences.
- Connect to Wi-Fi (if supported).
- Register the device (app account, firmware updates).
Step 7: Test the System
- Run heating mode and cooling mode manually.
- Observe if equipment responds properly.
- Check that each stage (if multi-stage) turns on correctly.
- Check temperature accuracy: compare thermostat reading versus thermometer in room.
- Monitor for short cycling: system should run long enough to produce comfort, not turn on/off rapidly.
Tips to Optimize Your Installation
- Avoid mounting near direct sunlight, drafty windows, or heat sources.
- Use sensors (if available) to average temperature across rooms.
- Enable “adaptive recovery” or “early start” features when offered.
- Periodically check firmware updates for the thermostat.
- Use scheduling features to reduce HVAC runtime during sleeping or away periods.
Troubleshooting Common Issues
| Problem | Check This | Potential Fix |
|---|---|---|
| HVAC doesn’t respond | Wiring or power issue | Recheck labels and circuit breaker |
| Display blank | No power | C-wire or transformer issue |
| Short cycling | Thermostat polling too frequently | Adjust minimum cycle times or deadband |
| Temperature offset | Poor placement or calibration | Relocate or calibrate offset |
| Wi-Fi won’t connect | Network / credential issue | Verify SSID and password, firmware compatibility |
If persistent problems arise, professional help may be needed to correct wiring or system compatibility.
Why You Should Hire an Expert (When Needed)
While many homeowners can install a thermostat themselves, in the following cases it’s safer to involve a technician:
- No C-wire or incompatible wiring
- Multi-zone or complex HVAC systems
- Older systems or vintage components
- Safety concerns (gas, heat, high voltage)
- When diagnosing beyond the thermostat itself
Our team is happy to assist. Learn more about thermostat replacement services:
https://1sthvacrepairservicespalmdesertca.com/thermostat-replacement/
Or reach out to schedule installation support:
Contact us now
Conclusion
Installing a smart thermostat may involve more steps than replacing a basic unit, but taking care with wiring, setup, and testing ensures optimal performance and longevity. In our next (third) blog, we’ll explore how to maintain and troubleshoot your thermostat after installation — how to keep it reliable, responsive, and efficient over time.